Turn a basic office supply into a stunning, crystal-draped solar lamp for a sophisticated boutique glow.
Disclosure: As an Amazon Associate, links in this post may earn me a small commission at no cost to you.
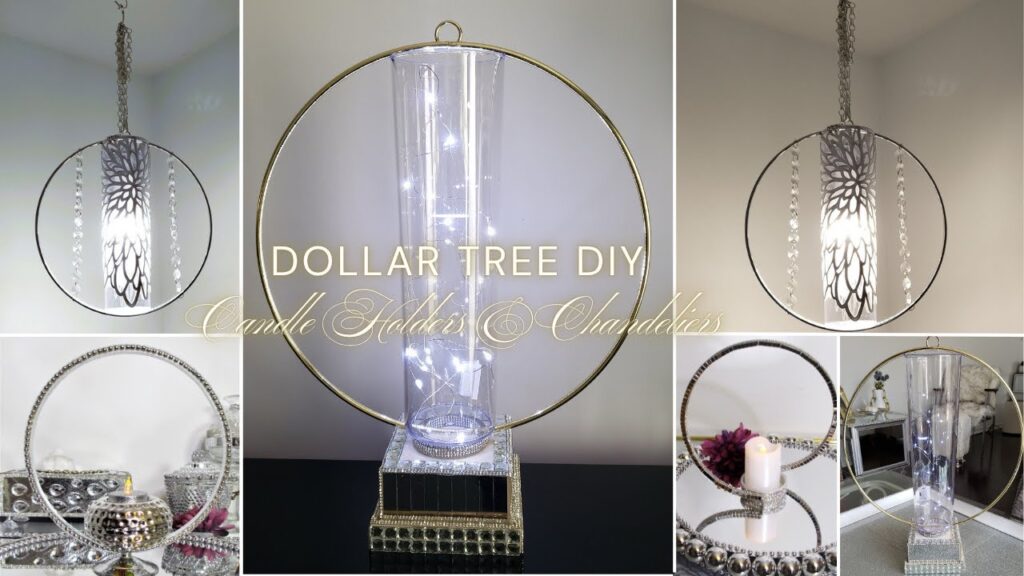
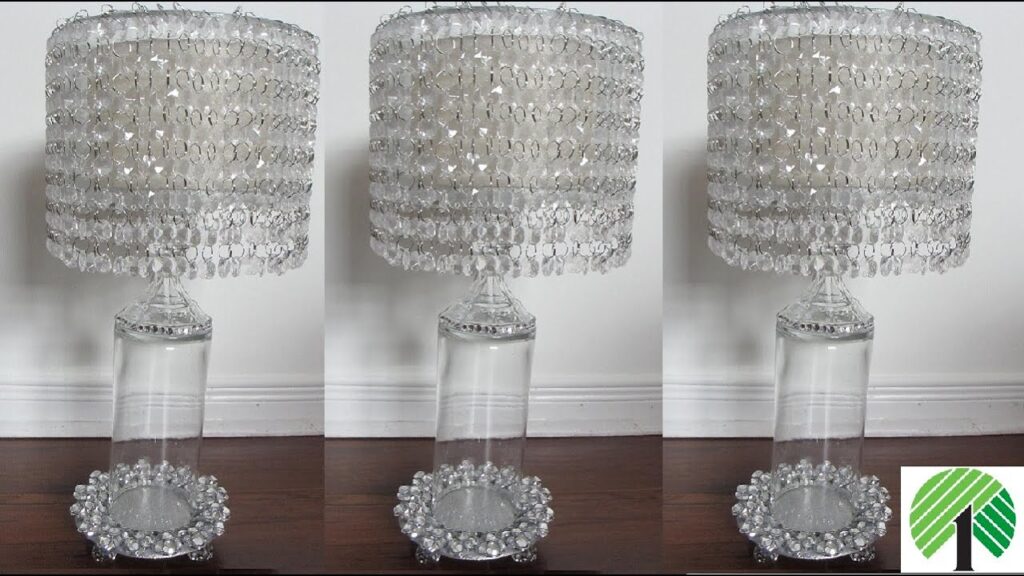
I am always on the hunt for “hidden” glam potential in the most ordinary items, and today I’m tackling the humble mesh pencil holder! I’ve seen similar crystal-encrusted lamps in high-end boutiques for a fortune, but I knew I could engineer a cordless, solar-powered version myself using just a few Dollar Tree supplies. This project is all about the layers of bling—from the bejewelled base to the cascading crystals—creating a piece that looks absolutely exquisite on a patio table or a foyer console.
📺 WATCH: See the mesh pencil holder lamp transformation here.
Materials
Browse my curated list of Favorite Craft Supplies, Tools & Embellishments
-
Jumbo mesh pencil holder (Dollar Tree – ensure it is see-through)
-
Glass candlestick holder (repurposed garage sale find)
-
Small glass holder (to serve as the light mount)
-
Solar garden light (stick portion)
-
Hanging crystal pendants/garlands
-
Clear crystal gem clusters (leftover from previous projects)
-
Crystal gem stickers
-
Acrylic crystal doorknob (optional topper)
-
Silver metallic paint (optional, for base)
Tools
-
E6000 industrial adhesive (for permanent hold)
-
Hot glue gun and glue sticks
-
Scotch tape
-
Gem picker tool
💡 Sandy’s Crafting Tips & Hacks
-
The “Tedious” Secret: I’ll be honest, counting out and hanging dozens of individual crystals can be a bit tedious! My best advice is to put on your favourite music, grab a cup of coffee, and just enjoy the process—the final shimmer is so worth the extra time.
-
Charging Through the Mesh: Don’t worry about the solar panels being covered! Because we are using a mesh holder, enough light can get through the little holes to power up the solar stick during the day, and then glow beautifully through those same holes at night.
-
Permanent Base Bonding: When you are stacking glass components like the candlestick and the light mount, always use E6000. Hot glue is great for speed, but for a piece you’ll be picking up and moving around, you really want that rock-solid, permanent bond.
-
Stash-Diving: I love dipping into my “stash” for this project! Using leftover crystal clusters from previous mirror projects is a great way to save money and ensure your home decor pieces have a cohesive look.
Instructions
-
Bling Out the Base: I like to start by decorating my candlestick holder base. For mine, I needed to apply three coats of silver metallic paint first to cover the original gold. Once dry, I applied my crystal gem clusters. I realized I wanted even more sparkle, so I went back in and added crystal gem stickers to fill in the gaps until the entire base was shimmering.
-
Mount the Light Base: Once the candlestick was decorated, I glued a small glass holder to the very top. I used E6000 here to ensure it stayed permanently attached, as this is where the light source will sit.
-
Prepare the Shade: I took my mesh pencil holder and started decorating it with my hanging crystals. This holder is going to become our lampshade. I counted out the exact number of crystals I wanted to hang first to make sure the “waterfall” effect was even all the way around.
-
Install the Solar Unit: To add the light, I took my solar stick and used a bit of tape to secure it vertically inside the glass holder on the base. You want to make sure the mini solar panels are facing upward. If you prefer, a dollop of hot glue works great here too!
-
Assemble the Silhouette: I then proceeded to place my newly decorated mesh lampshade right over the top of the lamp base. It should sit snugly over the solar stick and the glass mount.
-
The Final Finial: To top everything off, I added a piece of crystal to the very top of the lampshade for that extra bit of “designer” bling. If you want a different look, an acrylic crystal doorknob looks amazing as an alternative topper!
Related Content & Resources
▶️ Watch Next: More DIY Table Lamp Ideas (No Wiring Required).
▶️ Browse the Collection: See all my Lighting DIY’s here.
💎 Join the Community
Don’t miss a single transformation! Subscribe to my Youtube Channel for weekly step-by-step video tutorials.
Disclaimer: I’m not a professional. All my DIY’s are for entertainment purposes.