Disclosure: As an Amazon Associate, links in this post may earn me a small commission at no cost to you.
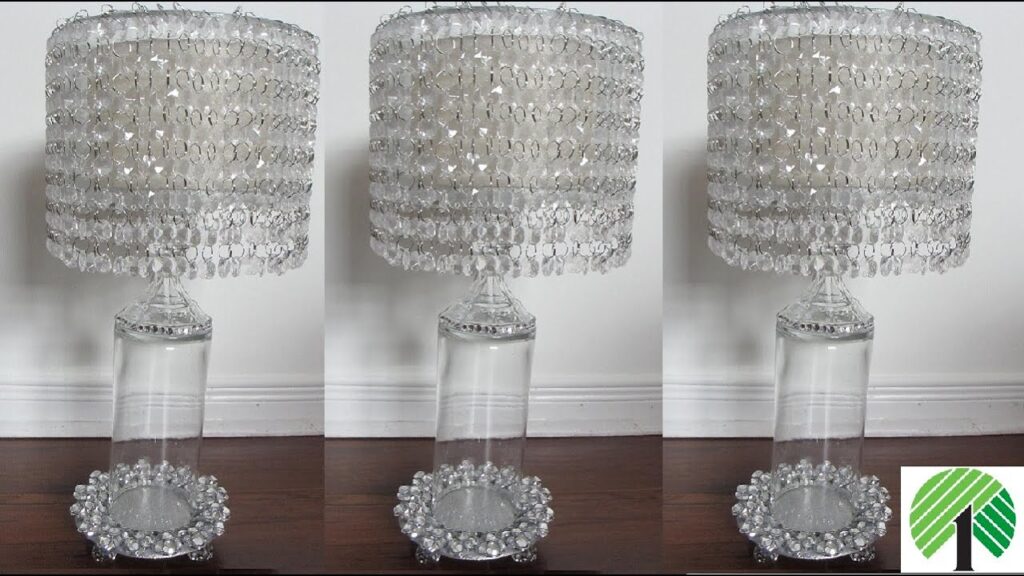
Walking into a high-end boutique like Z Gallerie can be a dream for the eyes but a nightmare for the wallet when a single pillar holder retails for nearly $100, right?. I’ve always believed that luxury is a bit more about creative imagination rather than the price tag, and today I’m proving it by recreating three stunning Z Gallerie-inspired pieces using budget-friendly finds. From mirrored pillar holders to crystal chandeliers, we are turning “dollar store” into “designer” with just a bit of bling and imagination.
📺 WATCH: See how I transform Dollar Tree finds into Z Gallerie inspired decor here.
Materials
Browse my curated list of Favorite Craft Supplies, Tools & Embellishments.
- Small wooden box and wooden embroidery hoops
- 12-inch metal rings (Gold and Silver)
- Tall cylindrical acrylic vases (Dollar Tree)
- Self-adhesive glass gems and rhinestone trim
- Rectangular mirror tiles and mini mirror tiles
- Silver metallic placemats (Mosaic design)
- U-shaped chrome car trim
- Crystal acrylic garland strands and silver jump rings
- Plastic curtain rings and wine glass bases
- Rechargeable LED light bulb or fairy lights
Tools
- Weld Bond all-purpose glue
- Hot glue gun and glue sticks
- Soldering tool (or hot glue gun tip)
- Nylon cable ties (white and black)
- Precision scissors and wire cutters
💡 Sandy’s Favorite Crafting Tips & Hacks
- The “Less is More” Glue Rule: When adhering mirror tiles, always apply your Weld Bond directly to the wood rather than the tile. This gives you much better control and prevents the glue from “oozing” out the sides, which saves you a major cleanup headache later.
- Facet-Friendly Lighting: I love using real glass gems because the facets catch the sunlight and fairy lights so much better than plastic. If you place these near a window, your whole room will sparkle.
- Soldering for Stability: To get a round metal ring to stand perfectly upright, use a soldering tool to melt a small indent into a plastic curtain ring. This creates a custom “seat” for the metal that makes your structure incredibly stable.
- The Chrome Edge Upgrade: To make an acrylic vase look like expensive heavy glass, finish the rim with U-shaped chrome car trim. It snaps right on and provides that perfect, mirror-like finish.
- Custom Crystal Lengths: Don’t settle for standard garland lengths. Use silver jump rings to add or remove crystals, allowing you to tailor the “drop” of your chandelier to perfectly fit your space.
Instructions
Project 1: The Mirrored Pillar Holder (Gold Edition)
- Bling the Base: Embellish the four sides of a wooden box lid with self-adhesive glass gems and rhinestone trim. Turn the lid upside down to serve as the foundation.
- Mount the Mirrors: Apply rectangular mirror tiles vertically to the sides of the wooden box using Weld Bond. If you have small gaps at the corners, cover them with vertical rows of rhinestone trim.
- Create the Ring Mount: Use a soldering tool to melt two small indents into opposite sides of a plastic curtain ring. Wrap the ring in rhinestone trim and secure it to the top of your mirrored base with hot glue.
- Final Assembly: Insert a 12-inch gold metal ring into the indents and wedge a tall acrylic vase into the center. Add fairy lights for a soft, boutique glow.
Project 2: The Silver Mosaic Chandelier
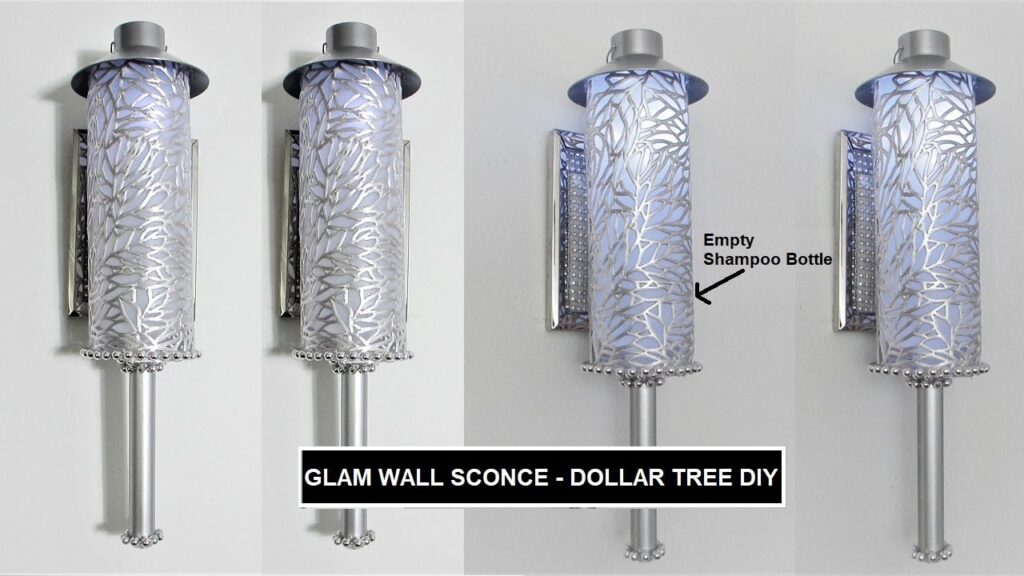
- Wrap the Vessel: Cover a cylindrical vase with a flexible silver mosaic placemat. Secure it firmly using white zip ties and trim away any excess material.
- Refine the Rim: Apply U-shaped chrome car trim to the top edge of the vase to hide the cut plastic and add a high-end metallic finish.
- Hang the Crystals: Use jump rings to attach crystal garland strands to a silver metal ring. Secure the top rings with a tiny dollop of hot glue so they don’t slide.
- Install the Light: Wedge the decorated vase into the metal ring and suspend a rechargeable LED light bulb inside.
Project 3: Embroidery Hoop Candle Holders
- Prep the Hoops: Paint wooden embroidery hoops metallic silver and embellish the outer edges with rhinestone trim and mini mirror tiles.
- Construct the Stand: Bling out a base (like a snow globe stopper or a wine glass base) with rhinestone trim.
- Join and Light: Glue the hoop vertically to the base and place a battery-operated LED candle or tealight in the center for a minimalist, glam look.
Related Content & Resources
▶️ Watch Next: More Z Gallerie Inspired Decor Hacks
▶️ Browse the Collection: See all my High-End Inspired Lighting
💎 Join the Community
Don’t miss a single transformation! Subscribe to my Youtube Channel for weekly step-by-step video tutorials.
Disclaimer: I’m not a professional. All my DIY’s are for entertainment purposes.