This article is adapted from a video originally published on YouTube on Apr. 27, 2021.
Disclosure: As an Amazon Associate, I earn from qualified purchases from links on this page.
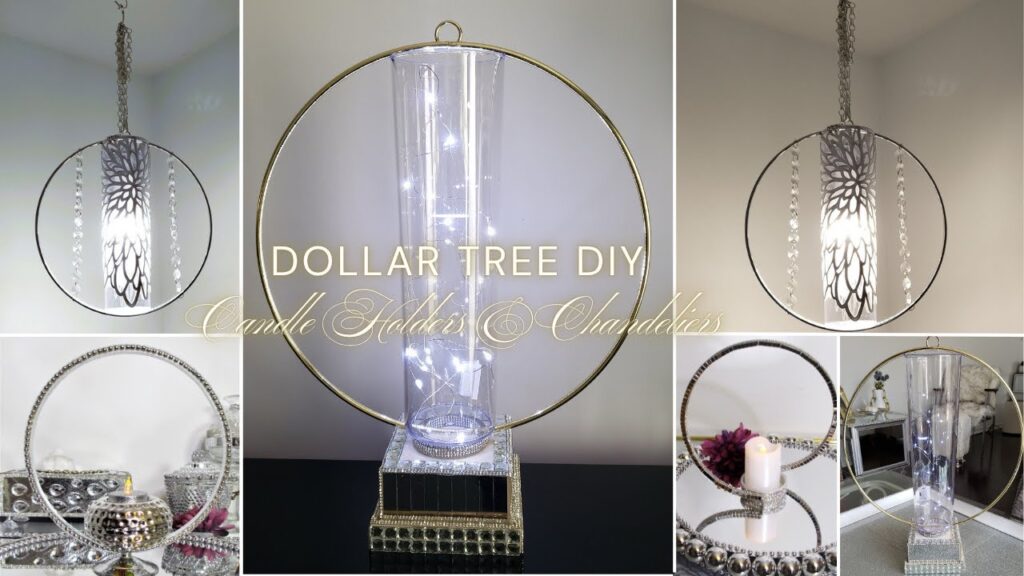
I saw a simple glass vase and realized it was the perfect foundation for a high-end lighting piece that dazzles and shimmers. It is incredible how you can take basic household items and turn them into something spectacular by layering silver paints, hanging crystals, and custom-made gem clusters. Today, I am showing you how I upcycled these budget finds into a beautiful table lamp that catches the light perfectly and adds a sophisticated glow to any room.
📺 WATCH: See how I transform a glass vase and candlesticks into this stunning, crystal-draped table lamp here.
Materials
Browse my curated list of Favorite Craft Supplies, Tools & Embellishments.
💡Scaling Note: The quantity of crystal strands and paint will depend on the size of the vase and the dimensions of the lampshade you select.
- Glass vase (to serve as the body of the lamp).
- Two glass candlesticks.
- Small plate (to act as the base).
- Lampshade.
- Several strands of hanging crystals (connected by jump rings).
- Push button LED light and AAA batteries.
- Crystal gem stickers and crystal doorknobs.
- Crystal gem clusters (repurposed from the spoon mirror project).
- Silver metallic paint and silver glitter sprinkles.
Tools
- E6000 industrial strength adhesive.
- Hot glue gun and glue sticks.
- Mod Podge.
- Soldering tool.
- Paintbrushes.
💡Sandy’s Crafting Tips & Hacks
- The Permanent Bonding Duo: For structural pieces that need to support the weight of the glass, use E6000 for a long-term hold and reinforce with hot glue for an immediate set. This allows the assembly to remain stable while the industrial glue cures over 12 to 24 hours.
- The Scratched Rim Fix: If you are repurposing an old vase with scratches on the top, apply a row of gem stickers around the rim. This hides any damage while adding instant shimmer to the design.
- The Soldering Shortcut: Piercing holes in a lampshade frame can be difficult with scissors. Use a heated soldering tool to melt clean, precise holes every half centimeter along the rim for hanging crystals securely.
- The Glitter-Set Secret: To add extra shine and depth to your painted base, apply a final coat of Mod Podge mixed with glitter sprinkles. This “locks” the sparkle in place and creates a professional finish once dry.
- The Music Strategy: Poking dozens of holes and hanging individual crystal strands is a repetitive task. Set up a comfortable workspace with music or a favorite beverage to make the process more enjoyable.
Instructions
- Prepare the Lamp Components: Apply a row of crystal gem stickers around the top rim of the glass vase to hide any imperfections. Paint the small plate with silver metallic paint, applying enough coats to fully cover the original color.
- Build the Lamp Base: Apply industrial adhesive and a dollop of hot glue to the bottom of the vase and center it on the first glass candlestick. Glue the mouth of the second candlestick to the mouth of the first to create a tall, stable pedestal, and allow it to cure for 12 to 24 hours.
- Customize the Lampshade: Use a heated soldering tool to poke small holes half a centimeter apart all along the top rim of the shade. Measure and adjust the crystal strands using their jump rings and hang them through the holes so they drape vertically.
- Enhance the Base Height: Apply a mix of Mod Podge and silver glitter to the painted plate for extra shine. Once dry, glue three crystal doorknobs to the bottom of the plate to serve as decorative legs and add architectural height.
- Final Assembly: Center and glue the vase assembly onto the silver plate. Adhere crystal gem clusters around the empty space on the plate to embellish the base. Place the battery-operated LED light on top of the upper candlestick and set the lampshade over it to complete your masterpiece.
Related Content & Resources
▶️ Watch Next: More DIY Lamp Designs
▶️ Browse the Collection: See all my Lighting DIYs
💎 Join the Community
Don’t miss a single transformation! Subscribe to my Youtube Channel for weekly step-by-step video tutorials.
Disclaimer: I’m not a professional. All my DIY’s are for entertainment purposes.