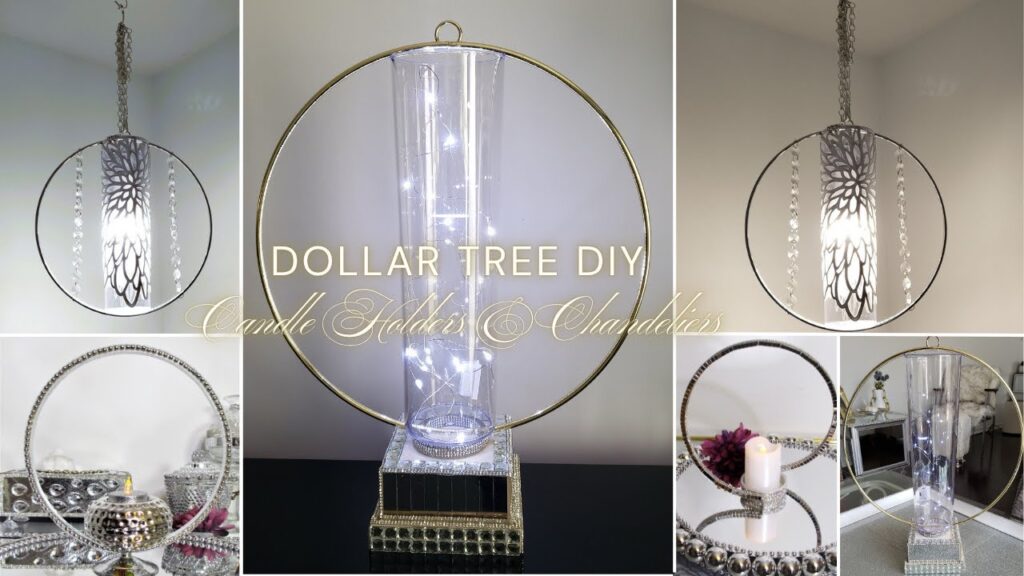
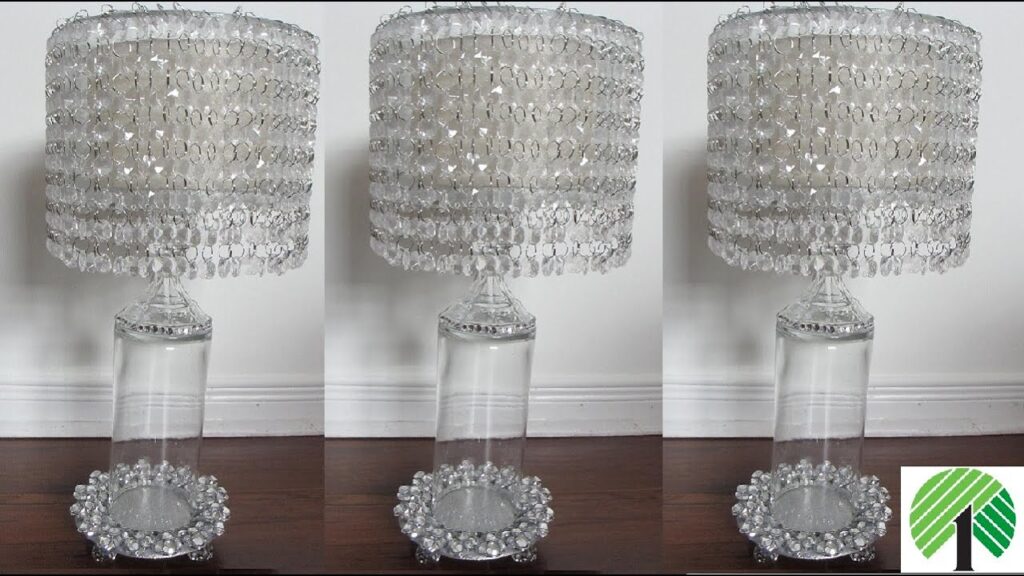
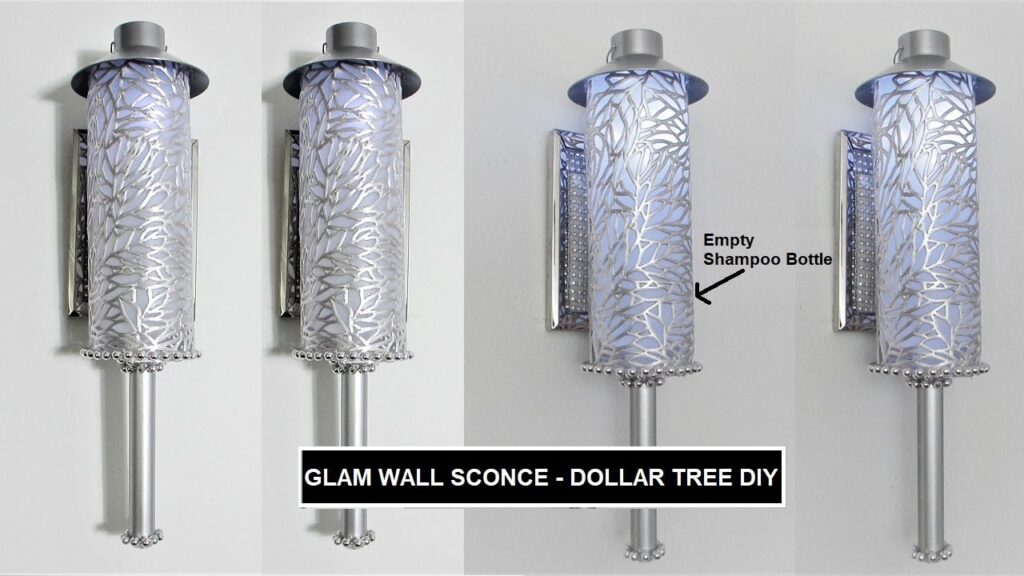
Repurpose an empty plastic bottle from your shower into a shimmering, boutique-style floral vase for pennies.
Disclosure: As an Amazon Associate, links in this post may earn me a small commission at no cost to you.
I’m always looking for ways to rescue items from my recycling bin and give them a second life in my home. One day, while I was finishing off a bottle of shampoo, I realized it had that perfectly tall, slim silhouette that reminds me of the high-end vases I see in designer galleries. For this project, I’m showing you how I used a bit of diamond mesh and some of my favourite dollar store beads to turn that ordinary plastic bottle into a beautiful, weighted vase that looks like it belongs on a luxury console table.
📺 WATCH: See the shampoo bottle transformation here:
Materials
Browse my curated list of Favorite Craft Supplies, Tools & Embellishments.
-
Tall plastic shampoo bottle (cleaned and dried)
-
Glass candlestick holder (Dollar Tree)
-
Diamond mesh wrap (Black or silver)
-
Strings of silver beaded necklace (Dollar Tree)
-
Mod Podge (or clear glue)
-
Clear glass marbles (optional, for weight or decoration)
Tools
-
Hot glue gun and glue sticks
-
Foam brush
-
Scissors
💡 Sandy’s Crafting Tips & Hacks
-
The Glue Strategy: For this project, I used two different adhesives for very specific reasons. I used Mod Podge for the mesh because it’s thin and won’t leave lumpy bumps under the wrap. However, for the beaded necklace, I switched to hot glue—the beads are a bit heavier, and the Mod Podge just doesn’t grab them fast enough!
-
Height & Stability: If you feel your vase is a bit too lightweight because it’s made of plastic, gluing a glass candlestick to the bottom is the perfect solution. Not only does it give the vase more “presence” and height, but the weight of the glass makes it much sturdier so it won’t tip over when you add flowers.
-
The Label Hack: To get a flawless finish, make sure you remove every bit of labeling and adhesive residue from the bottle first. I find that warm, soapy water usually does the trick to get that plastic surface perfectly smooth before we start blinging it out.
Instructions
-
Prep the Plastic: I start by thoroughly cleaning and drying the shampoo bottle. It’s really important to remove all the branding and labels; any leftover sticky residue can make your mesh sit unevenly.
-
Apply the Shimmer Base: I like to use a foam brush to spread an even layer of Mod Podge around the body of the bottle. I then measured and applied two pieces of diamond mesh wrap to cover the main surface. I found that working with the mesh in sections made it much easier to keep everything aligned.
-
Add the Beaded Detail: Once the mesh was secure on the bottom half, I started wrapping strings of silver beaded necklace around the rest of the bottle, all the way up to the neck. I definitely recommend using tiny dollops of hot glue here for an instant hold, as it keeps the beads from sliding while you work your way up.
-
Elevate the Silhouette: This part is optional, but I really wanted my vase to have more height. I applied a generous amount of hot glue to the bottom of the bottle and secured it to a glass candlestick holder. This simple step completely changes the look from “upcycled bottle” to “designer decor” [1184, History].
-
Customise the Finish: I actually ended up making two of these! For one, I used black diamond mesh for a modern look, and for the other, I used silver mesh and added clear glass marbles. You can really play around with different colours of mesh and beads to match your own space.
Related Content & Resources
▶️ Watch Next: More https://youtu.be/SF1Fq1-OJnQ”>DIY Vase Designs
▶️ Browse the Collection: See all my Tabletop DIY’s.
💎 Join the Community
Don’t miss a single transformation! Subscribe to my Youtube Channel for weekly step-by-step video tutorials.
Disclaimer: I’m not a professional. All my DIY’s are for entertainment purposes.