Upscale mismatched picture frames into professional-grade mirrored keepsake boxes and cordless crystal lamps for an instant designer glow.
Disclosure: As an Amazon Associate, links in this post may earn me a small commission at no cost to you.
I was staring at a stack of mismatched picture frames gathering dust in my studio, and I suddenly saw them as high-end designer pieces just waiting to be rescued. I’ve always found that the most ordinary frames—even the budget-friendly ones from the dollar store—can be engineered into professional-grade showpieces with just a little bit of vision and some silver shimmer. Today, I’m going to show you how I rescued these frames and upscaled them into a collection of mirrored keepsake boxes and crystal lamps that add a sophisticated, designer glow to any room.
📺 WATCH: See how I transform ordinary picture frames into stunning glam decor here.
Materials
Browse my curated list of Favorite Craft Supplies, Tools & Embellishments.
-
Picture frames (Assorted sizes: 4×6, 8×10, 11×14, and hexagon shapes)
-
Empty cardboard box
-
Mirror tiles (4×4 or 5×5)
-
Silver glitter paper or decorative craft paper
-
Silver rhinestone mesh ribbon
-
Solar garden stick
-
Plastic wine glass base
-
Wired basket
-
Acrylic crystal ornaments
-
LED battery-operated puck light
-
Crystal doorknob
-
Silver plastic spoon handles
-
Silver Christmas ornament balls
-
White paint or primer
Tools
-
Hot glue gun and glue sticks
-
Fix-All or E6000 adhesive
-
Precision scissors
-
Drill and small screw (for the lamp project)
💡 Sandy’s Favorite Crafting Tips & Hacks
-
The Label & Design Cover-Up: When you’re working with branded cardboard boxes, don’t worry about a perfect paint job. I always apply a quick coat of white primer to mask any dark designs so they don’t “ghost” through your mirrors or glitter paper.
-
The Hybrid Bonding Strategy: For structural pieces like lamps and heavy boxes, I highly recommend the “adhesive duo.” Use Fix-All for a permanent, long-term bond and supplement it with hot glue for that near-instant hold while the stronger adhesive sets.
-
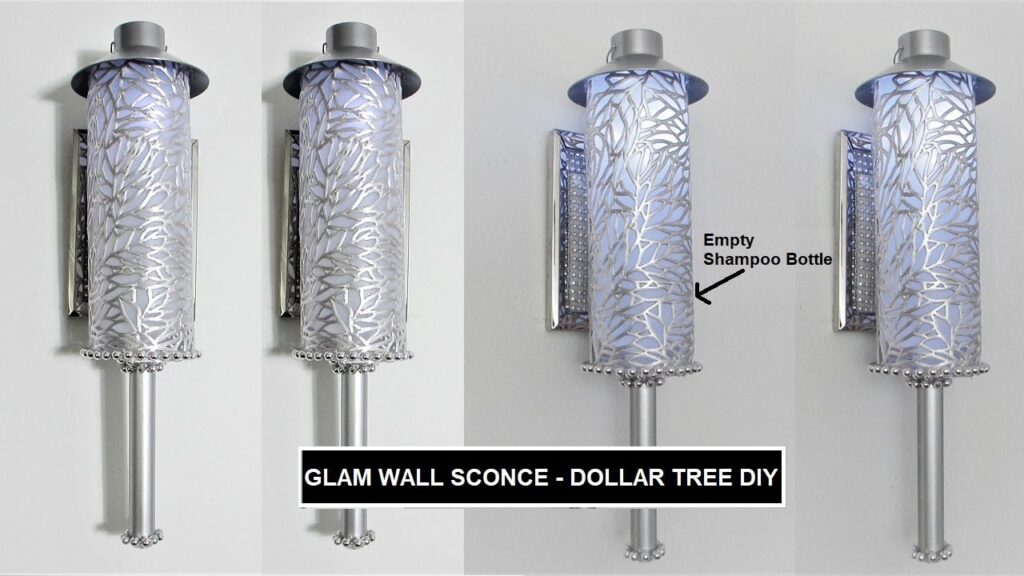
Precision Shadow Lamp Hack: To create a beautiful light pattern on your walls, anchor a wired basket face-down over your light source. The geometric mesh acts as a natural diffuser, casting stunning shadows across the room.
-
The Glue String Eraser: Since these projects use so much reflective glass and chrome, hot glue “spiderwebs” will really stand out. Once everything has cooled, I take a dry paintbrush and simply twirl those pesky strings away instantly.
Instructions
Project 1: Mirrored Keepsake Box
-
Line the Interior: Open your cardboard box and adhere silver glitter paper to the inside walls and base. Apply silver rhinestone ribbon to the inner edges to cover any visible seams.
-
Prime the Exterior: Apply a coat of white paint or primer to the outside of the box. You only need to ensure the edges are covered, as the center will be hidden by mirrors.
-
Apply the Facade: Use Fix-All and hot glue to center mirror tiles onto each side of the box. For my box, I placed three mirrors on the long sides and one on each end.
-
Finish and Fill: Top the box with a matching framed mirror lid. Use this for jewelry, remote controls, or your most treasured keepsakes.
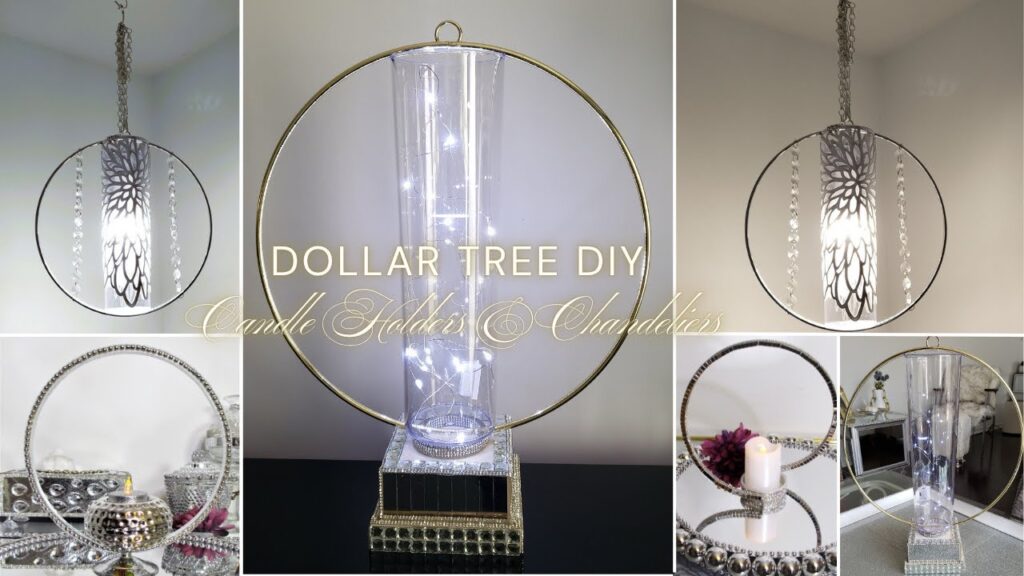
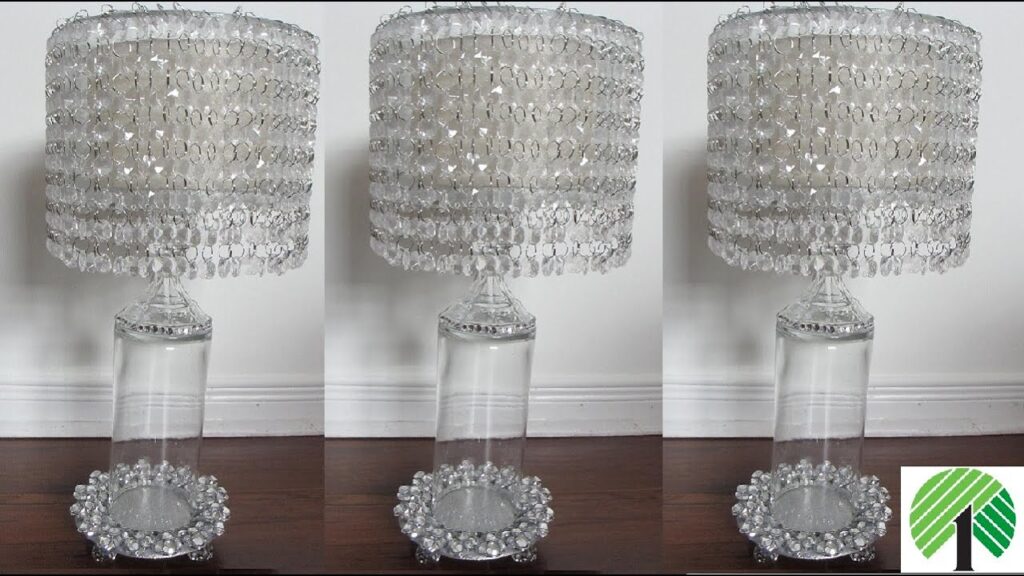
Project 2: Hexagon Crystal Table Lamp
-
Join the Frames: Remove the backings from two hexagon frames and bond them back-to-back using your permanent adhesive duo to create a stable “X” base.
-
Build the Pedestal: Adhere a plastic wine glass base to the bottom edge of the joined frames. Directly on the opposite top edge, drill a small hole and secure a small nail or screw.
-
Construct the Shade: Place a solar garden stick onto the screw. Take a wired basket, hang acrylic crystal ornaments along the rim, and anchor the basket face-down to the top of the stick.
-
Light It Up: Place a battery-operated LED puck light and a crystal doorknob finial at the very top for a cordless, designer glow.
Project 3: The Silver Spoon Gallery Tray
-
Assemble the Frame Set: Bond three large 11×14 picture frames together side-by-side to create a wide, substantial tray base.
-
Texture the Border: Embellish the edges of the frames with silver plastic spoon handles and chains of rhinestones to create a custom, high-gloss finish.
-
Elevate with Feet: Hot glue a silver ornament ball to each of the four bottom corners to give your tray a regal, gallery-worthy presence.
Related Content & Resources
▶️ Watch Next: More Photo Frame Home Decor Craft Ideas
▶️ Browse the Collection: See all my Tabletop Decor DIYs
💎 Join the Community
Don’t miss a single transformation! Subscribe to my Youtube Channel for weekly step-by-step video tutorials.
Disclaimer: I’m not a professional. All my DIY’s are for entertainment purposes.