Create a dazzling, 16-inch tall tiered crystal lamp using dollar store baskets and garden planters.
Disclosure: As an Amazon Associate, links in this post may earn me a small commission at no cost to you.
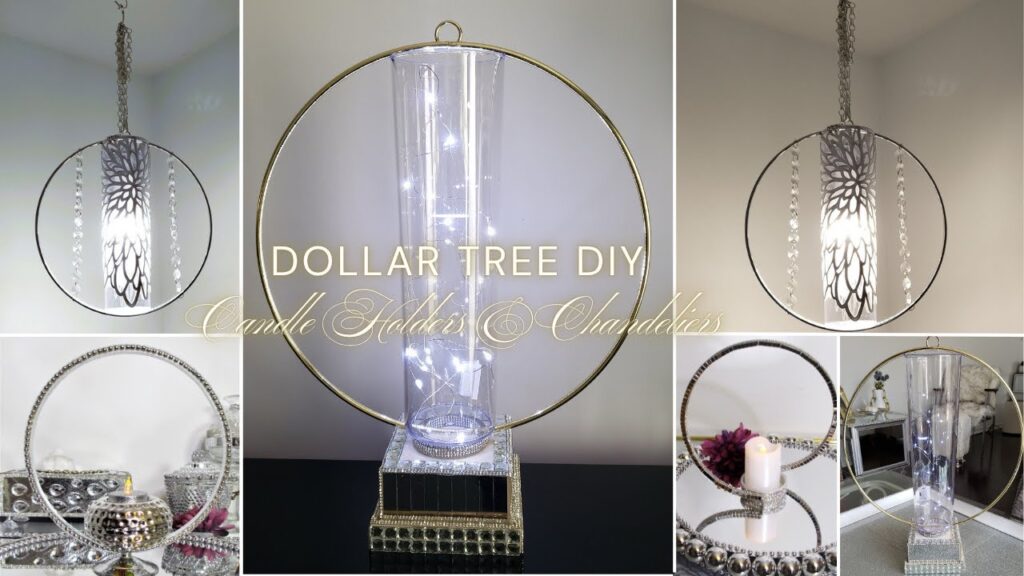
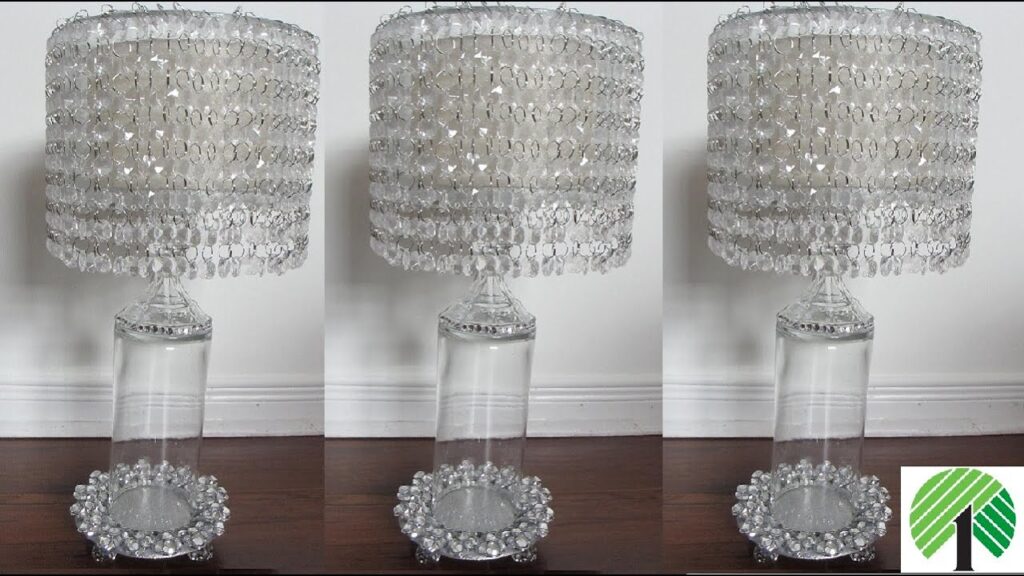
I am so excited to show you this transformation because it truly proves that you can create luxury out of the most basic items. Today, I’m taking a few plastic bowls, a wire basket, and some acrylic crystals to build a substantial, shimmering table lamp. This isn’t just a small accent piece—this lamp stands over 16 inches tall and has a weighted base that feels incredibly high-end. Whether you place this in your bedroom for a romantic glow or on a side table in your living room, it’s going to be a total showstopper.
📺 WATCH: See the https://youtu.be/EE2oUwL8NPI”>DIY Crystal Table Lamp tutorial here.
Materials
Browse my curated list of Favorite Craft Supplies, Tools & Embellishments.
-
Round Fluted Plastic Bowl
-
Small/Medium Garden Planter Bowl
-
Two Ceramic Candle Holders: (White or spray-painted white)
-
Silver Hammered Tea Light Holder
-
White Wired Basket
-
Hanging Acrylic Crystal Beads: (Connected with silver jump rings)
-
Silver Beaded Necklace String
-
Two Bags of Glass Marbles: (For weighting the base)
-
Battery Operated Push-Button LED Light
-
White Spray Paint: (Rust-Oleum)
Tools
-
High-Temperature Hot Glue Gun
-
Fix-All Adhesive: (For a permanent, secure hold)
💡 Sandy’s Crafting Tips & Hacks
-
The Weight Secret: Plastic bowls are very light, which can make a DIY lamp feel flimsy. I’ve found that filling the bottom planter bowl with two bags of glass marbles gives the lamp a “boutique” weight and keeps it from tipping over.
-
The “Combo” Glue Method: For the lamp base, I always use a combination of Fix-All and hot glue. The Fix-All provides the long-term, permanent bond, while the hot glue gives me that instant “tack” so I don’t have to hold the pieces together for 20 minutes while they dry.
-
Reshaping the Wire: Don’t be afraid to get a little hands-on with the dollar store wire basket. I bend the wire manually to create two distinct levels for the crystals to hang from. It’s very forgiving, so you can keep adjusting it until the levels are perfectly even.
-
Saving Your Fingers: Attaching all those jump rings to the wire basket can be a workout for your hands! I recommend taking a few breaks during this step. If you have a small pair of pliers, they can help you open and close the rings a bit easier.
Instructions
Project 1: Building the Weighted Lamp Base
-
Paint the Components: I start by taking my plastic bowls and ceramic candlesticks outside to give them 2-3 healthy coats of white spray paint.
-
Weight and Seal: I pour the glass marbles into the garden planter bowl. Then, I apply Fix-All and hot glue along the rim and press the fluted bowl upside down on top of it.
-
Hide the Seam: I run a bead of hot glue along the seam where the two bowls meet and press a silver beaded necklace string into it to add a touch of glam.
-
Construct the Neck: I glue the first candlestick to the top of the base, followed by the silver hammered tea light holder, and finally the second candlestick. This gives the lamp its impressive 16-inch height.
Project 2: Crafting the Crystal Shade
-
Shape the Basket: I take the white wire basket and bend the wires to create two tiers. I make sure to check it from all angles so it isn’t lopsided.
-
Hang the Crystals: I use the jump rings to attach strings of crystals to the wire. I use longer strings (5 beads) for the outer perimeter and shorter strings (4 beads) for the inner tier.
-
Assemble and Light: Once the shade is fully “dressed” in crystals, I place it on top of my base. I then nestle the battery-operated push-button light into the top opening of the shade for an instant, wireless glow.
Related Content & Resources
▶️ Watch Next: More DIY Lamp Design Ideas.
▶️ Browse the Collection: See all my DIY Lighting Decor
💎 Join the Community
Don’t miss a single transformation! Subscribe to my Youtube Channel for weekly step-by-step video tutorials.
Disclaimer: I’m not a professional. All my DIY’s are for entertainment purposes.