Turn basic holiday ornaments and napkin rings into a designer-inspired wireless lamp that glows all night.
Disclosure: As an Amazon Associate, links in this post may earn me a small commission at no cost to you.
I love a good lighting project, especially when it involves turning seasonal items into year-round showpieces. Today, I’m taking those small Christmas ornament balls and some simple napkin holders to create a one-of-a-kind glam solar lamp. It has a beautiful tiered look that catches the light perfectly, and since it’s solar-powered, you don’t have to worry about cords or outlets. This is a total budget transformation that looks incredibly high-end once those “crystals” start to sparkle!
📺 WATCH: See how leftover Christmas ornaments become an embellishment to deck out an all-year table lamp here.
Materials
Browse my curated list of Favorite Craft Supplies, Tools & Embellishments.
-
Small Christmas Ornament Balls (16-pack in gold or silver)
-
Silver Napkin Holders (6-pack with chrome finish)
-
Round Frameless Mirror (5-inch)
-
Solar Garden Stick
-
Diamond Shaped Acrylic Gems
-
Crystal Doorknobs (for the legs)
-
Rhinestone Ribbon
Tools
-
High-Temperature Hot Glue Gun & glue sticks
-
X-Acto Knife or box cutter
💡 Sandy’s Crafting Tips & Hacks
-
Clean Surface Adhesion: When using a mirror as a base, always scrape off the factory felt pads with an X-Acto knife first. This allows your legs to sit perfectly flush against the glass for a sturdier, professional-looking build.
-
The Dry Fit: Always arrange your ornament balls around the napkin ring before you reach for the glue. This ensures your spacing is even and you don’t end up with an awkward gap at the end.
-
Tiered Anchoring: Stacking napkin holders in the center provides a solid “skeleton” for your lamp. It gives the ornament balls something to lean against as you build upwards, preventing the tiers from collapsing.
-
Blinging the Source: Don’t forget to embellish the solar light itself! Adding rhinestone ribbon to the top of the solar unit ensures that even the functional parts match your glam aesthetic.
Instructions
-
Prepare the Mirror Base: Turn your 5-inch mirror upside down. Use an X-Acto knife to carefully scrape away the felt pads.
-
Add the Legs: Hot glue three or four crystal doorknobs to the bottom of the mirror to create elegant pedestal feet.
-
Secure the Core: Flip the mirror right side up. Center one silver napkin holder and glue it firmly to the mirror’s surface.
-
Build the First Tier: Arrange a row of small ornament balls around the napkin holder and secure each with a small dollop of hot glue.
-
Create Height: Stack and glue two more napkin holders directly on top of the first one in the center.
-
Add Additional Tiers: Continue gluing tiers of ornament balls around the center stack, building upwards.
-
Fill the Gaps: For the top tier, glue diamond-shaped acrylic gems into the small spaces between the balls for extra sparkle and a finished look.
-
Final Ring: Place one last napkin holder on the very top of the center stack to act as the holder for your light.
-
Embellish the Solar Light: Separate the light from the garden stick. Wrap the top of the light unit in rhinestone ribbon and add acrylic gems to the casing.
-
Final Assembly: Insert the blinged-out light into the top napkin holder of your base.
Related Content & Resources
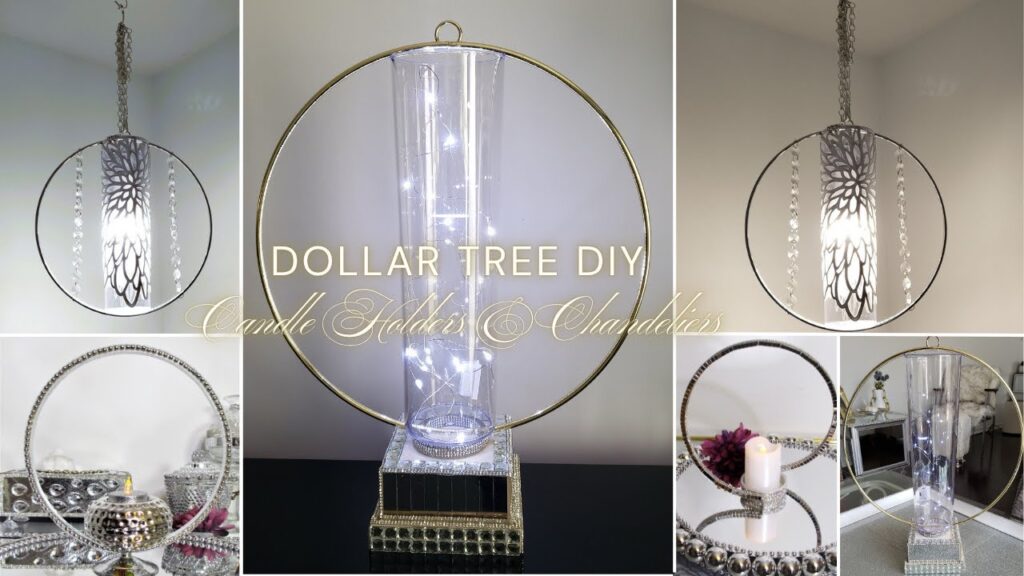
▶️ Watch Next: More DIY Glam Lighting Ideas
▶️ Browse the Collection: See all my DIY Lighting Solutions
💎 Join the Community
Don’t miss a single transformation! Subscribe to my Youtube Channel for weekly step-by-step video tutorials.
Disclaimer: I’m not a professional. All my DIY’s are for entertainment purposes.