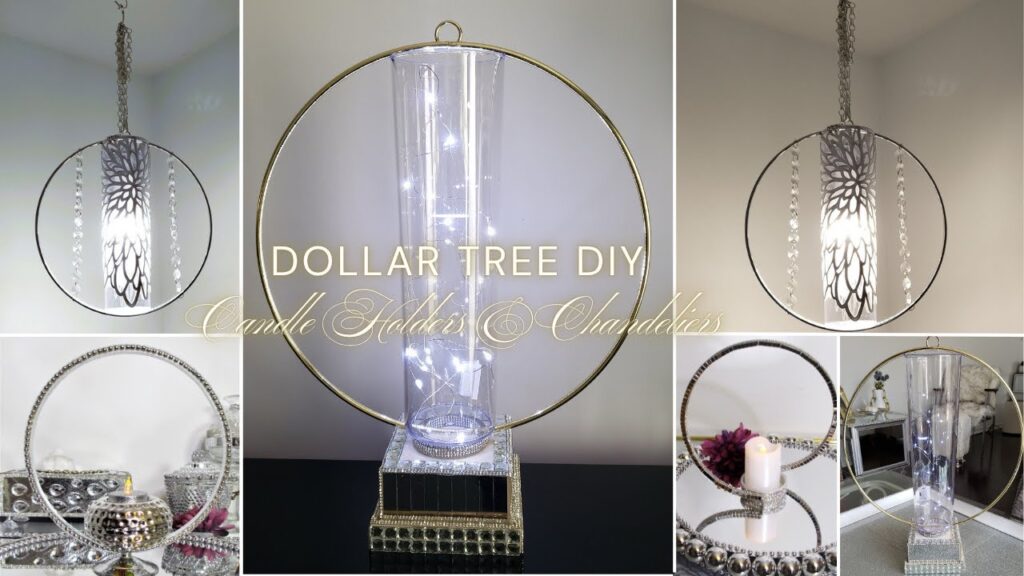
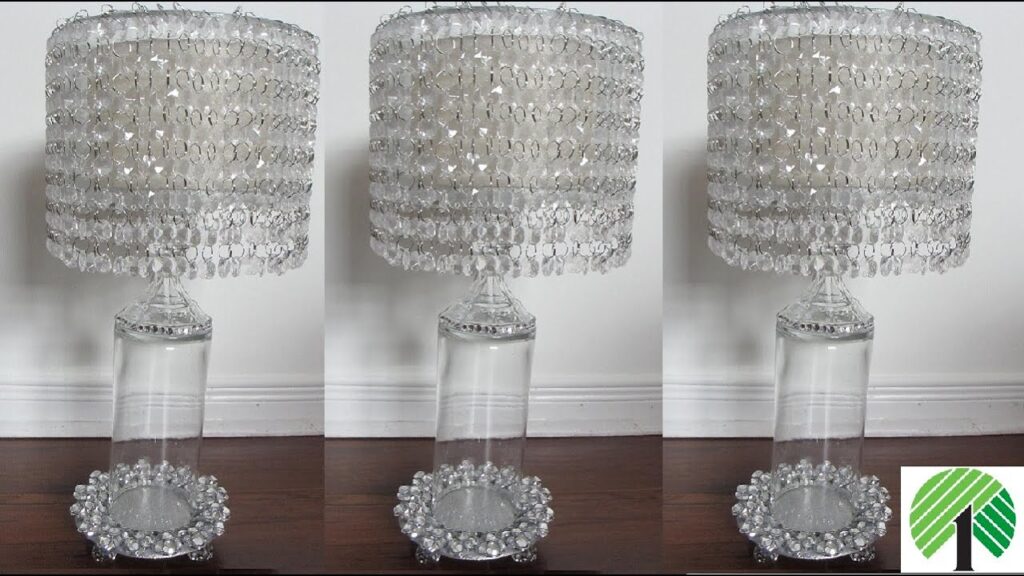
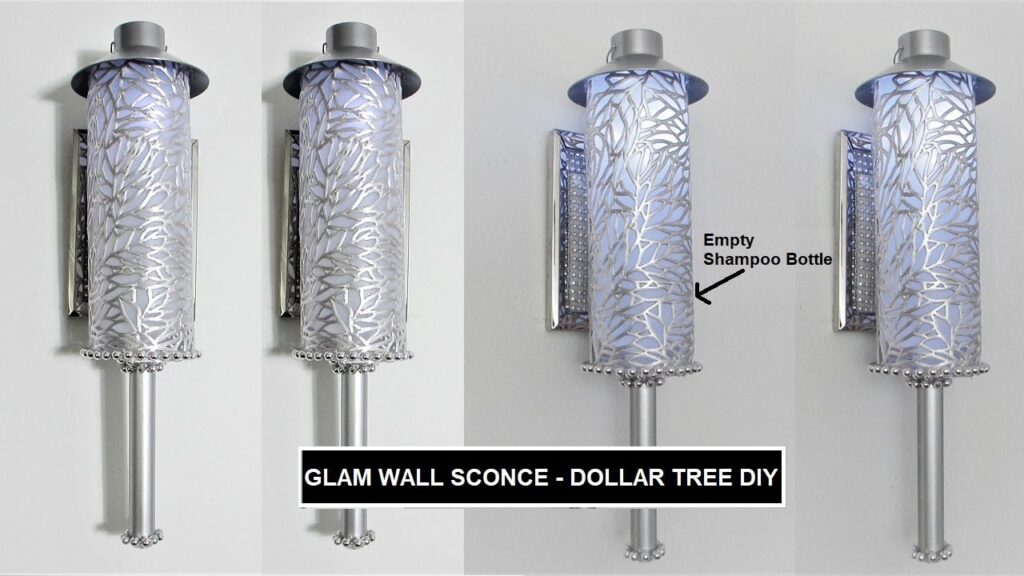
Take dollar store staples and re-purpose them into luxury showpieces for your home for a fraction of the boutique price.
Disclosure: As an Amazon Associate, links in this post may earn me a small commission at no cost to you.
Why pay $200+ at fancy places like Z Gallerie when you can achieve the same luxury look with budget friendly materials from the dollar store? Today, we are rescuing everyday items—like a $1.50 ice bucket and holiday ornaments—and engineering them into two distinct, shimmering showpieces. These projects prove that luxury home decor is more about creative execution than a designer budget.
📺 WATCH: See how I turn each Dollar Tree item into a Z Gallerie table decor dupe here.
Materials
Browse my curated list of Favorite Craft Supplies & Embellishments.
-
Mirror-finish ice bucket (Dollar Tree)
-
Two silver square bowls (Dollar Tree)
-
Christmas ornament balls (Mirror-like finish)
-
Gold mesh ribbon trim
-
Laser-cut wooden butterflies
-
Metallic gold acrylic paint
-
Clear tacky glue
Tools
-
Hot glue gun and glue sticks
-
Thin, soft-bristled paintbrush (pointy tip)
-
Precision scissors
💡Sandy’s Crafting Tips & Hacks
-
The Nooks & Crannies Hack: When painting intricate laser-cut pieces like wooden butterflies, use a very thin paintbrush with soft, pointy bristles. This allows the metallic paint to reach every detail for a uniform boutique finish.
-
Base Realignment Trick: If you discover that your pedestal base is not centered properly after gluing, wait for the hot glue to cool completely. You can then gently remove the base from the bucket and reposition it for a perfectly balanced look.
-
Ornament Smoothing: To ensure holiday ornaments sit flush against a surface, remove the caps and use sharp scissors to snip off the protruding plastic tips. This creates a smooth, flat finish for high-end designer assembly.
-
The Glue String Eraser: Once the hot glue has cooled, take a dry, soft-bristled paintbrush and simply twirl those pesky “spiderwebs” away to keep your mirrored surfaces sparkling.
Instructions
Project 1: The Silver & Gold Floral Ice Bucket
-
Embellish the Rim: Cut a single row from a six-row gold mesh ribbon. Apply a small dollop of hot glue to anchor one end to the rim of the ice bucket, then secure the remaining length using clear tacky glue for a seamless hold.
-
Paint the Detail: Apply metallic gold acrylic paint to both sides of the laser-cut wooden butterflies. Allow the first side to dry for 10 minutes before flipping the pieces over to paint the reverse.
-
Create the Vine Effect: Use hot glue to attach the gilded butterflies to the gold trim around the bucket. Space them out according to preference to mimic a whimsical floral vine motif.
-
Assemble the Pedestal: Apply hot glue to the bottom of a silver square bowl. Center the bowl onto the bottom of the ice bucket and press firmly to create a regal, elevated base.
Project 2: The Gramercy Bowl Dupe
-
Prepare the Hardware: Remove the caps from several mirror-finish ornament balls. Snip off the plastic tips with scissors so each ball has a smooth, flat mounting surface.
-
Map the Pattern: Arrange the ornaments on the outer surface of a silver bowl before glueing to ensure even spacing. Start by adhering a row of three ornaments toward the top rim of the bowl using hot glue.
-
Layer the Rows: Add a second row containing two ornaments, alternating the placement to follow the curve of the bowl. Repeat this pattern on all sides until the entire exterior is embellished.
-
Final Polish: Once the glue is set, use a dry paintbrush to remove any residue. This piece functions beautifully as a designer candy dish and pairs perfectly with the ice bucket for a cohesive glam tablescape.
Related Content & Resources
▶️ Watch Next: More Z Gallerie-Inspired Home Decor
▶️ Browse the Collection: See all my DIY Tabletop Decor
💎 Join the Community
Don’t miss a single transformation! Subscribe to my Youtube Channel for weekly step-by-step video tutorials.
Disclaimer: I’m not a professional. All my DIY’s are for entertainment purposes.