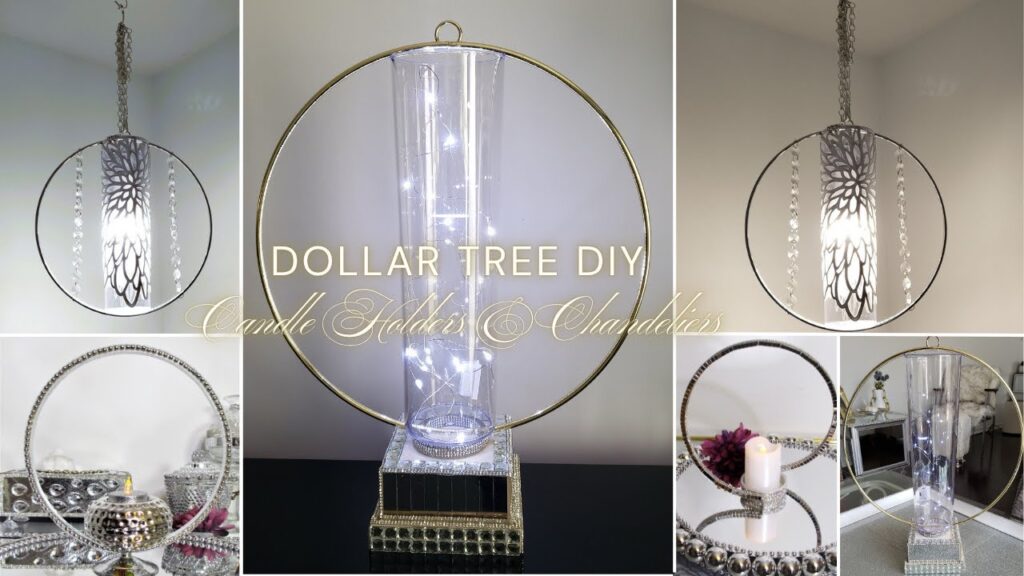
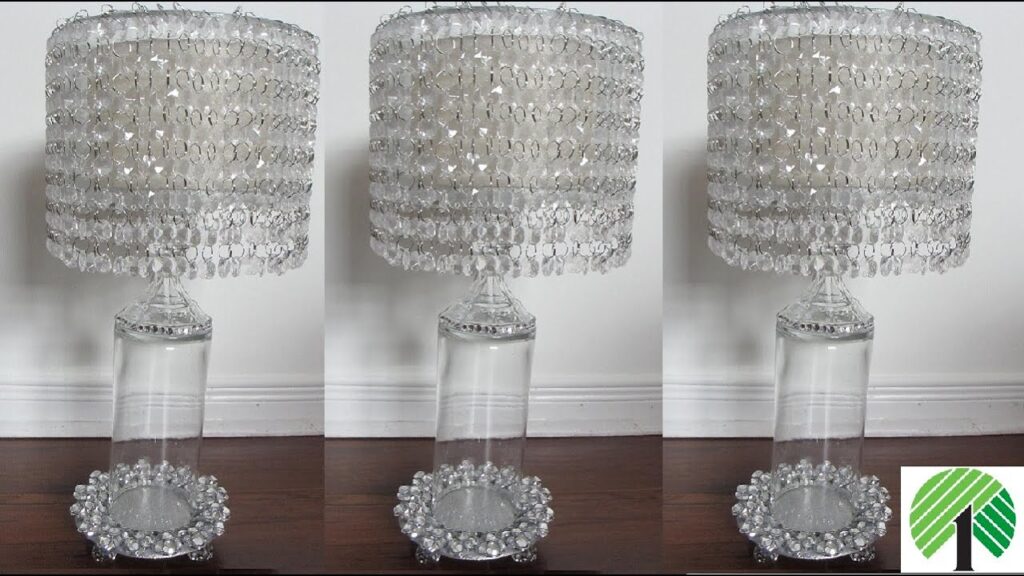
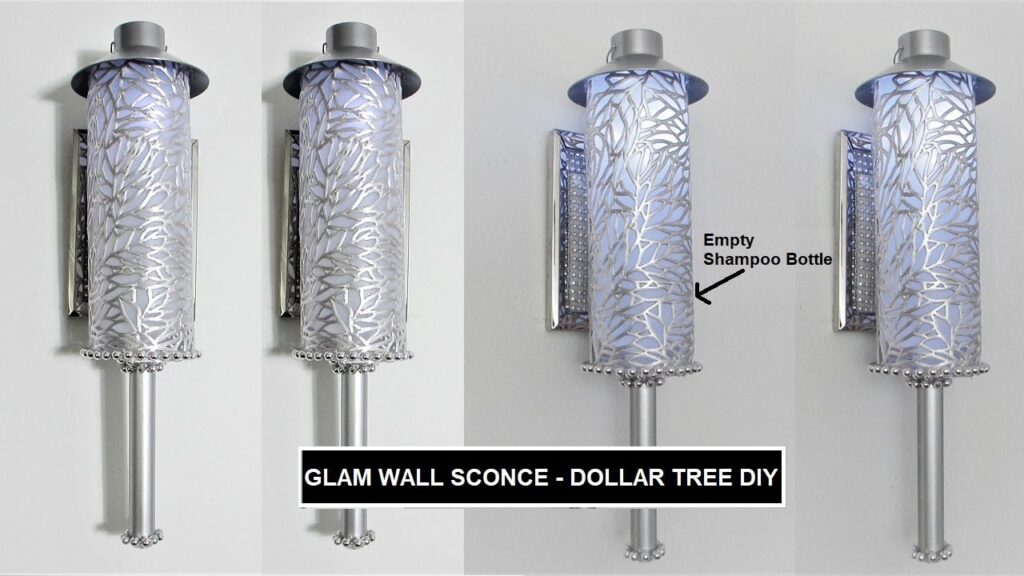
Save ordinary cookie tins, metallic placemats, and plastic chopping mats and upscale them into a sophisticated collection of professional-grade lanterns.
Disclosure: As an Amazon Associate, links in this post may earn me a small commission at no cost to you.
I no longer overpay for luxury home decor. If you’ve ever walked through a store (think Z Gallerie or Pottery Barn) and seen those massive lanterns with the triple-digit price tags, you know exactly what I’m talking about. But here’s my secret: you can get that exact same look using empty holiday cookie tins, garden planters, and even plastic chopping mats.
Today, I’m showing you how to rescue these everyday materials and upscale them into four distinct statement pieces. Whether you love a “botanical” vine-wrapped look or a massive mirrored tower, these projects bring instant glamour to your home for a tiny fraction of the designer price.
📺 WATCH: See all the lantern transformations here.
Materials
Browse my curated list of Favorite Craft Supplies, Tools & Embellishments
-
Round cookie tin covers
-
12-inch wooden dowels (Dollar Tree)
-
5-inch round mirrors
-
Metallic placemats and plastic chopping mats (Dollar Tree)
-
Medium sized glass bowl (Dollar Tree)
-
Silver napkin rings (Dollar Tree)
-
Crystal door knobs (for those elegant legs!)
-
LED hanging lamps (silver or gold)
-
Silicone vine molds and chrome markers
-
Silver beaded necklace and rhinestone ribbon (Dollar Tree)
-
Clear glass gems
-
Fix-All or E6000 adhesive and a hot glue gun
Tools
-
Hot glue gun and glue sticks
-
Dry paintbrush (for glue string removal)
-
Miter shears (for cutting dowels)
-
Baroque style Silicone molds
-
Clamps (to hold the chopping mats while they dry)
💡 Sandy’s Crafting Tips & Hacks
-
The Glue String Removal Hack: When you’re working with mirrors and chrome, hot glue “spiderwebs” show up everywhere. Once the glue is cool, just sweep a dry, soft paintbrush over the surface—they’ll disappear instantly.
-
The Permanent Bonding Hack: For these larger lanterns, you need structural integrity. I always use a mix of Fix-All or E6000 for that long-term “forever” hold, and then use hot glue for an immediate hold while the permanent glue cures.
-
The Silicone Vine Trick: If you want that high-end botanical look, fill a silicone vine mold with hot glue. Once it’s set, you can remove the “vine,” paint it with a chrome marker, and it’s flexible enough to wrap around anything!
-
The Chopping Mat Support Hack: Plastic chopping mats are great for creating cylinders, but they can warp. Glue a couple of wooden dowels vertically inside the cylinder to act as “pillars”—it keeps everything perfectly straight and professional-looking.
-
The Triangular Base Secret: When adding legs to your lanterns (like crystal knobs or napkin rings), always place them in a triangle pattern. It’s the most stable shape and ensures your lantern won’t wobble on your tabletop.
Instructions
1. The Botanical Dowel Pillar Lantern
-
Construct the Frame: Bond three 12-inch wooden dowels vertically between two round cookie tin covers using a mix of Fix-All and hot glue.
-
Paint and Mirror: Paint the dowels silver and bond a 5-inch round mirror to the center of the bottom lid.
-
Build the Legs: Turn the base upside down and adhere three silver napkin rings in a triangle for height.
-
Create the Vines: Fill your vine mold with hot glue, remove it when set, paint it chrome, and twist it around the dowels.
-
Finish the Topper: Adhere a second mirror to the top lid, frame it with silver beads, and add a crystal finial on top.
2. The Shimmering Chopping Mat Lantern
-
Construct the Cylinder: Curl a plastic chopping mat into a cylinder, overlap the ends, and secure with hot glue and clamps.
-
Bond to Mirrors: Glue the cylinder vertically between two round framed mirrors.
-
Straighten the Shade: Glue two wooden dowels vertically inside the mat to eliminate any warping.
-
Embellish: Cover the mirror frames and mat edges with mini mirror tiles and rhinestone ribbon.
-
Elevate: Adhere three crystal door knobs to the base for stability.
3. The Exquisite Glass Gem Lantern
-
Construct the Pedestal: Bond a round glass vase to a glass candle holder using Fix-All to add elegant height.
-
Texture with Gems: Adhere clear glass gems in a uniform pattern all around the exterior of the vase.
-
Final Topper: Place a gold LED hanging lamp onto the top opening to complete the glass-on-glass look.
Related Content & Resources
▶️ Watch Next: More DIY Lantern ideas
▶️ Browse the Collection: See all my Lantern DIY’s
💎 Join the Community
Don’t miss a single transformation! Subscribe to my Youtube Channel for weekly step-by-step video tutorials.
Disclaimer: I’m not a professional. All my DIY’s are for entertainment purposes.