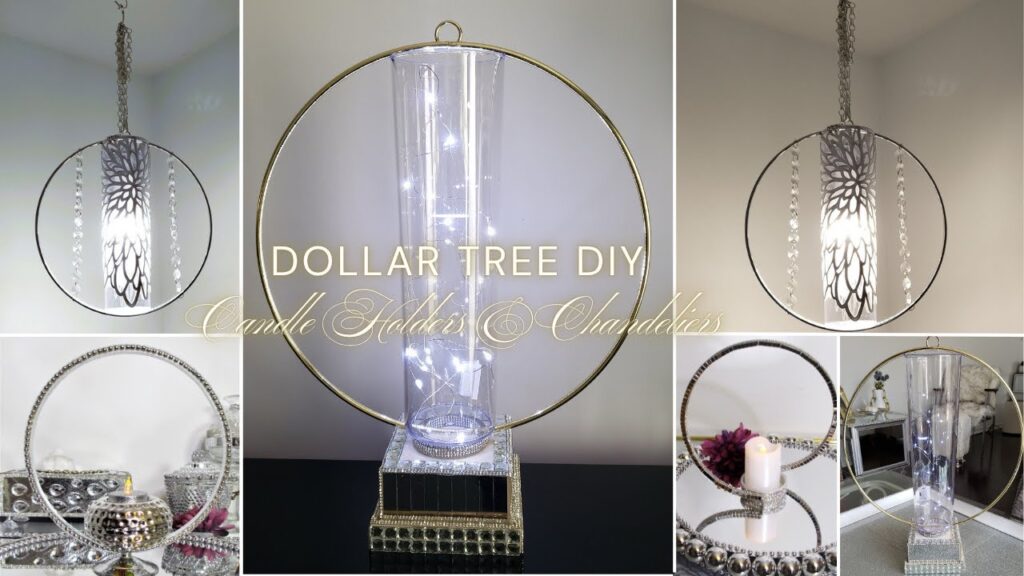
Four Budget-Friendly Builds That Look Like Expensive Designer Finds — Using Dollar Tree Supplies and a Few Craft Staples
Disclosure: As an Amazon Associate, links in this post may earn me a small commission at no cost to you.
Some of the most beautiful home décor pieces I’ve come across online are way out of my price range — but that’s never stopped me from figuring out how to make my own version. These four projects were inspired by pieces I spotted at Anthropologie, Wayfair, and Z Gallerie. A Dollar Tree arched mirror, a Halloween pumpkin bowl, a plain white vase, and a rectangular framed mirror were the starting points. Here’s how each one came together.
📺 WATCH: See all four Dollar Tree upcycles come together here.
Materials
Browse my curated list of Favorite Craft Supplies, Tools & Embellishments.
-
Black arched frame mirror (Dollar Tree)
-
Pumpkin-shaped plastic bowl (Dollar Tree Halloween section)
-
White plastic hourglass-shaped vase (Dollar Tree)
-
Rectangular framed mirror (Dollar Tree)
-
Gold and silver metallic chrome paint markers (Liquid Chrome)
-
Silicone baroque mold (with feather and scroll shapes)
-
Christmas ornament balls — large and small sizes
-
Plastic Halloween chain links (Dollar Tree)
-
U-shaped chrome car trim (self-adhesive)
-
Crystal cabinet door knobs (3)
-
Clear acrylic round gems
-
Silver rhinestone trim (self-adhesive)
Tools
-
Soldering tool (for modifying plastic pieces)
-
Paintbrush
-
Wire cutters or heavy-duty scissors
-
Dry paintbrush (for glue string removal)
-
Fix-All or E6000 adhesive
-
Hot glue gun and glue sticks
💡 SANDY’S CRAFTING TIPS & HACKS
Chrome paint markers beat spray paint for small frames. Spray paint requires taping off the mirror glass, drying time between coats, and often leaves a matte finish. A chrome paint marker lets you work precisely into all the edges, grooves, and ridges of a frame — and the finish comes out glossier than most spray paints.
Fill silicone molds with really hot glue. Your glue gun needs to be fully heated before injecting glue into a detailed mold. If the glue isn’t hot enough, it won’t flow into the small corners and crevices properly. Let each piece cool for at least a minute before removing it from the mold.
Reinforce self-adhesive trim with a dot of hot glue at tight curves. The chrome car trim is flexible and self-adhesive, but tight curves — like around a bowl stem — can pull it loose. A tiny dot of hot glue at those spots keeps everything locked in place.
Use three legs instead of four on round bases. When adding crystal knob legs to a round bowl, three legs in a triangular pattern is just as stable as four and easy to position evenly in a triangular pattern.
Remove glue strings without scratching your finish. Once hot glue has cooled, run a dry paintbrush with soft bristles lightly over the surface. The strings wrap around the bristles and lift right off without marking reflective or painted surfaces.
Instructions
Project 1: Anthropologie-Inspired Gold Baroque Mirror
-
Paint the entire frame of the Dollar Tree arched mirror with a gold Liquid Chrome paint marker. Work the tip into all the edges, ridges, and grooves for full coverage. Let it dry completely.
-
Heat your hot glue gun fully, then inject hot glue into the large baroque-shaped cavity of your silicone mold. Also fill two or three of the smaller feather and scroll-shaped cavities. Let each piece sit for at least one minute until fully cooled and hardened before removing from the mold.
-
Paint all the cooled hot glue pieces with the same gold chrome marker, covering the front side only. Let dry.
-
Position the large baroque piece centered at the top of the arched mirror frame, with a small portion extending past the top edge. Hot glue it in place, applying glue only where the piece makes direct contact with the frame.
-
Hot glue the smaller feather and scroll pieces on either side of the frame, following the arch shape and letting each piece extend slightly past the frame edge for a layered, dimensional look.
Project 2: Z Gallerie-Inspired Gold Chain Link Vase
-
Paint a thin gold rim along the top edge of the white plastic vase using a gold Liquid Chrome paint marker. Once the top rim is done, add a little gold along the sides of the rim as well to make it more prominent. Let dry completely.
-
Separate your Dollar Tree Halloween chain links into individual links. You’ll need two sets of four links each — eight links total.
-
Paint all eight links with the gold chrome marker to match the vase rim. Let dry completely.
-
Reassemble each set of four links into a chain. Hot glue one set lengthwise down one side of the vase, applying a small dot of hot glue at the top link and another small dot at the bottom link only. Repeat on the directly opposite side of the vase with the second set.
Project 3: Wayfair-Inspired Crystal Leg Pumpkin Bowl
-
Open up a length of U-shaped chrome car trim. Starting at any point along the rim of the Dollar Tree pumpkin bowl, insert the bowl’s edge into the U-channel and press firmly as you work your way around the entire rim.
-
At tight curves around the stem, press the trim down firmly with your fingers and hold for several seconds. If any sections lift or the ends come loose, apply a small dot of hot glue underneath and press until set.
-
Once the trim is fully applied, snip off any excess for a clean join at the ends.
-
Cover the seam where the two ends of the trim meet with a short strip of silver rhinestone trim, pressing it firmly into place.
-
Turn the bowl upside down. Arrange three crystal cabinet door knobs in a triangular pattern on the base and hot glue each one in place, holding each for about 30 seconds until set. Remove any glue strings with a dry paintbrush.
Project 4: Z Gallerie-Inspired Chrome Bubble Serving Tray
-
Paint the inner frame of the Dollar Tree rectangular framed mirror with a silver chrome paint marker. Let dry completely.
-
Remove the cap and stem from each ornament ball using scissors or wire cutters. For the three larger balls, use a soldering tool to carefully enlarge and shape the remaining hole into a slot wide enough to fit over the mirror frame edge. Test the fit as you go and stop widening once the ball sits snugly.
-
Position the three larger ornament balls on the frame — one at each of two corners on one side and one centered on the opposite side — forming a triangular pattern so the tray sits balanced on a surface. Hot glue each ball in place, applying the glue inside the hole rather than on the ball’s exterior.
-
Add two smaller ornament balls to the remaining sides of the frame, positioning one on each side roughly a quarter of the way from a corner. Hot glue them directly to the frame surface — these smaller balls don’t need hole enlargement.
-
Press a clear acrylic round gem onto each of the three larger ornament balls with a small dot of hot glue for extra sparkle.
-
Cut strips of silver rhinestone trim to fit between each ornament ball along the frame edge to cover any visible hot glue seams. Press firmly into place.
Related Content & Resources
▶️ Watch Next: More Z Gallerie Inspiration Ideas
▶️ Browse the Collection: See all my Tabletop DIY’s here.
💎 Join the Community
Don’t miss a single transformation! Subscribe to my Youtube Channel for weekly step-by-step video tutorials.
Disclaimer: I’m not a professional. All my DIY’s are for entertainment purposes.