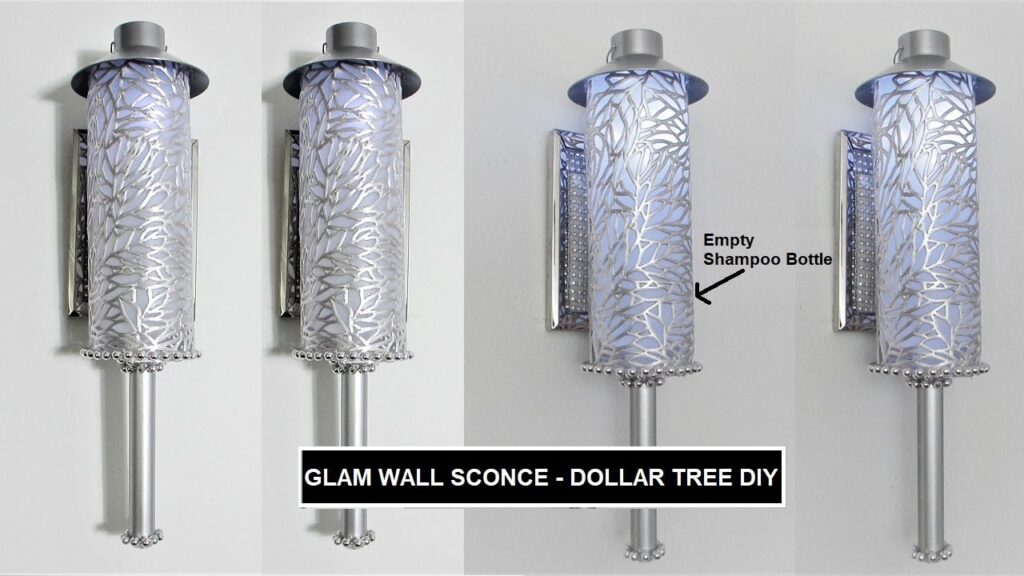
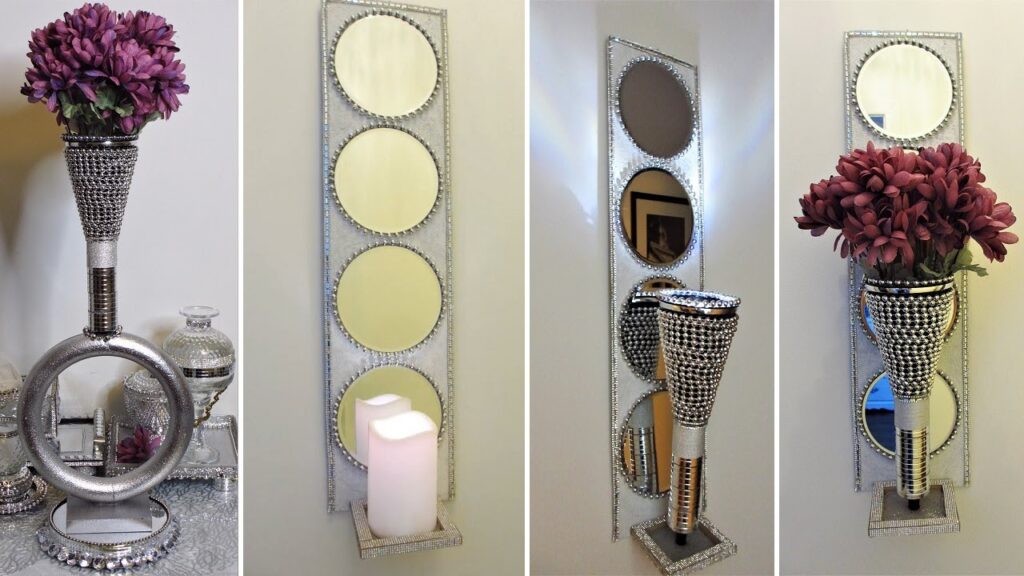
Create a luxury designer-style wall sconce for under $5 using budget-friendly Dollar Tree materials and this simple upcycling guide.
Disclosure: As an Amazon Associate, links in this post may earn me a small commission at no cost to you.
Have you ever walked through a high-end furniture store (think Z Gallerie) and fell over at the $150 price tag? I’ve always believed that luxury home decor is attainable even with a small budget. Today, I’m going to show you how to take a simple silver charger plate and upscale it into a stunning, professional-grade designer dupe . By skipping the power tools and utilizing lightweight materials, we can achieve that expensive boutique glow for less than five dollars.
📺 WATCH: See the full Z Gallerie-inspired transformation here.
Materials:
Browse my curated list of Favorite Craft Supplies, Tools & Embellishments.
-
Rectangular Silver Charger Plate
-
Mini Mirror Tiles
-
1 Metal Hanging Hook (can get this from a small picture frame
-
Large Clear Plastic Fork or Spoon (from Dollar Tree’s salad server set)
-
Jar Lid (repurposed from an empty pickle or sauce jar)
-
Silver Beaded Necklace
Tools:
-
Fix-All or E6000 Adhesive
-
Hot Glue Sticks
-
Hot Glue Gun
-
Hot Knife or Wood Burning Tool
-
Scissors
-
Glass Cleaner (for final detailing)
-
Paintbrush (if using acrylic paint)
💡Sandy’s Crafting Tips & Hacks
-
The Heavy-Duty Bonding Hack: To ensure your candle shelf is rock-solid, I always recommend the “adhesive duo”. Use Fix-All or E6000 for the permanent structural bond and supplement with hot glue for an immediate hold so you don’t have to wait hours to continue your project.
-
The “No-Spiderweb” Hack: If you’re like me and hate those messy hot glue “spiderwebs” all over your mirrors, wait for the glue to cool and use a dry paintbrush with soft bristles to simply twirl them away.
-
The Picture Frame Hook Hack: You don’t need to buy expensive mounting hardware! Simply upcycle the metal hook and cardboard backing from a budget-friendly picture frame to create a sturdy, hidden hanging solution.
-
The Seamless Stem Hack: When using a hot knife to cut your decorative plastic stem, take your time to ensure the cut is flush; this ensures the stem sits perfectly perpendicular to the jar lid for a high-end architectural finish
Instructions
-
(Do this step only if you don’t have a metal hanging hook) Prepare the Hanging Hardware: To get started, we’re going to create our custom mounting point. If you don’t have a spare hook, simply disassemble a small picture frame and keep the cardboard backing with the metal hook. Use scissors to cut a small square of cardboard around the hook to provide a substantial surface area for our adhesive.
-
Secure the Hook: Next, let’s anchor our backdrop. Apply a generous amount of your “adhesive duo” to the cardboard square and adhere the hook to the top-middle section of the back of your silver charger plate. I recommend letting this set firmly before we flip it over to work on the front.
-
Paint the Candle Base: Now we’ll create a clean designer foundation for our light. Take your repurposed jar lid and apply black acrylic paint until it is completely opaque. Set this aside to dry fully while we prepare the decorative stem.
-
Create the Decorative Stem: Next, let’s engineer our high-end silhouette. Using a hot knife or soldering tool, carefully separate the long handle away from your clear plastic salad server to create a sleek, modern stem for the sconce.
-
Assemble the Structure: Now for the fun part: bringing the pieces together. Apply your permanent adhesive to the rim of the painted jar lid and center it firmly onto the lower portion of the charger plate. Once the lid is positioned, glue the top of your plastic stem into the bottom center of the lid, holding it steady for a few minutes until the bond is secure.
-
Boutique Detailing: The last thing to do is add our signature finishes. We’ll use mini mirror tiles to fill in any gaps beside the lid to ensure a seamless, high-end transition between the plate and the shelf. Finally, frame the edges of the jar lid with a string of silver beaded necklace to camouflage glue marks and add that final touch of glamour.
-
Illuminate and Polish: To finish, let’s give our piece a professional boutique shine. Wipe away any fingerprints or dust using glass cleaner and your dry paintbrush. Place a tall, lightweight battery-operated LED pillar candle onto the lid base and hang your new showpiece on the wall.
Related Content & Resources
▶️ Watch Next: More DIY Glam Lighting ideas.
▶️ Browse the Collection: See all my Lighting DIY’s
💎 Join the Community
Don’t miss a single transformation! Subscribe to my Youtube Channel for weekly step-by-step video tutorials.
Disclaimer: I’m not a professional. All my DIY’s are for entertainment purposes.