Dollar Tree DIY Glam Decorative Bowls: 8 High-End Designer Designs

This article is adapted from a video originally published on YouTube on Mar. 16, 2024.

Disclosure: As an Amazon Associate, I earn from qualified purchases from links on this page.


I stopped spending hundreds on designer table accents long time ago. When you can engineer a stunning gallery presence for just a few dollars, why buy?! I’ve always believed that luxury home decor is more about creative execution than the size of your budget. Today, I’m going to show you how to rescue everyday Dollar Tree bowls and upscale them into six distinct, shimmering showpieces that bring instant sophistication to your bookshelves, coffee table, or fireplace mantel.

📺 WATCH: See the Bowl designs take shape here.

Materials

Browse my curated list of Favorite Craft Supplies, Tools & Embellishments

  • Clear Plastic bowls (assorted sizes, scallop rims, and garden dishes)

  • Silver plastic spoons (Dollar Tree)

  • Small silver ornament balls (Dollar Tree)

  • Silver beaded necklace and trim (Dollar Tree)

  • Clear round gem stickers and flat-back gems

  • Silver crystal ribbon and pearl gem trim

  • Silver and Gold metallic acrylic paint (Dollar Tree)

  • Silver Tea light holders (for bases)

  • Clear Glass Marble Gems (Dollar Tree)

Tools

  • Hot glue gun and glue sticks

  • Mod Podge, white glitter, and white vase filler

  • Fix-All or E6000 adhesive and hot glue

  • Gem picker tool

  • Wire cutters or sharp scissors

  • Paintbrush and foam brush

  • Dry paintbrush (for glue string removal)

💡Sandy’s Crafting Tips & Hacks

  • The Glue String Removal Hack: Keep your reflective chrome finishes and gems sparkling! Once the glue has cooled, take a dry paintbrush with soft bristles and simply twirl those pesky hot glue “spiderwebs” away for a flawless professional-grade finish.

  • The Permanent Bonding Hack: When you are building functional pedestal bowls that will be handled, i always recommend my “adhesive duo.” Use a combination of Fix-All or E6000 for long-term structural integrity and supplement it with hot glue for an immediate hold while you work.

  • The Zero-Waste Spoon Hack: Never throw away your leftover spoon parts! If a project calls for only the arm or the round head, save the remaining piece; the round heads make excellent “crystal clusters” for mirrors, while the handles are perfect for linear designs like sconces and vases.

  • Custom Texture Hack: To mask the texture of budget plastic and make your pieces feel like heavy ceramic, mix Mod Podge with white glitter to create a gritty base layer. This adds high-end dimension and allows your custom paint colors to appear rich and opaque.

  • Symmetry Alignment Hack: To ensure your bowl isn’t lopsided, place your pedestal base piece upside down on the table first, apply your adhesive, and then carefully center the larger bowl on top.
Join CreaTvDIY’s community to receive occasional updates, announcements, and special offers on your favorite craft supplies.


Instructions

Bowl Design #1: The Diamond Scallop Bowl

  1. Frame the Foundation: To get started, we’re going to highlight the architectural shape of our clear bowl. Apply self-adhesive silver beaded trim along both the inner and outer scallop rims, following the natural curves of the plastic.

  2. Add Crystal Definition: Next, let’s maximize the reflection. Use a gem picker to place clear round gem stickers into the centers of the pre-existing diamond patterns on the bowl’s surface to mimic expensive cut glass.

Bowl Design #2: The Crystal Cluster Pedestal Bowl

  1. Engineer the Clusters: For our second design, we’re creating custom hardware. Snap the heads off several silver spoons and adhere seven clear gems to the convex side of each head—three down the center and two on each side .

  2. Texture the Rim: Now let’s build the facade. Adhere your prepared clusters horizontally along the outer rim of a silver square bowl using hot glue.

  3. Assemble the Base: The last thing to do is add height. Bond the bowl to an inverted hammered tea light holder and trim the joint with silver beads for a gallery-worthy presence

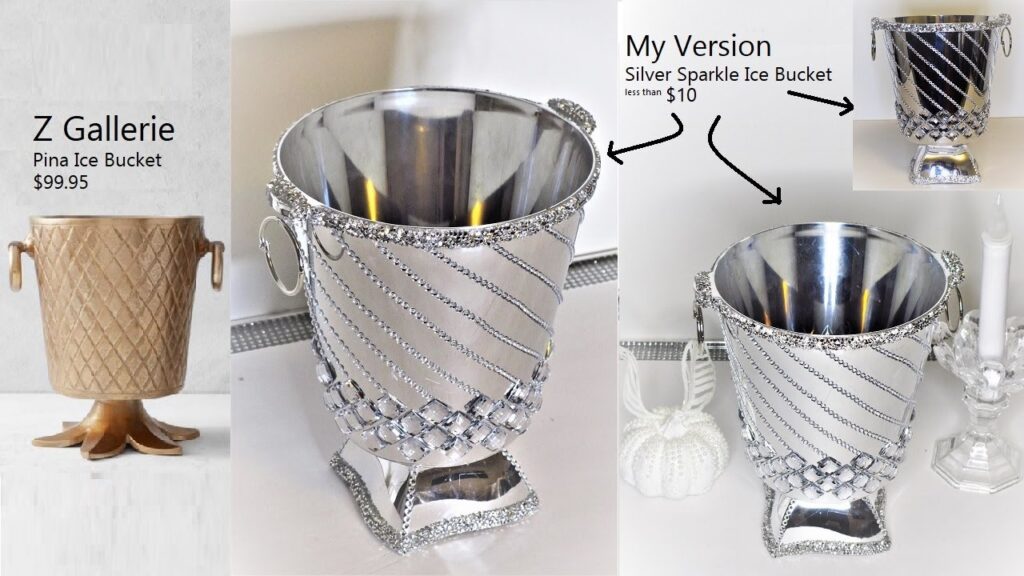
Bowl Design #3: The Z Gallerie Grand Mercy Bowl Dupe

  1. Modify the Ornament Hardware: This design is inspired by high-end polished stainless steel. Prepare several small silver ornament balls by removing the caps and snipping the stems to create flat mounting surfaces.

  2. Layer the Rows: Next, let’s add that heavy designer texture. Adhere the balls in alternating horizontal rows around the exterior of a large silver square bowl, fitting three on top and two on bottom per side to accommodate the narrowing base.

Bowl Design #4: The Pearl Garden Dish

  1. Bling the Ledges: For this piece, we’re keeping it chic and sophisticated. Adhere a string of silver beaded necklace all along the outer rim and the bottom edge of a round shallow garden dish.

  2. Add the Secondary Trim: Next, we’ll add some high-gloss contrast. Apply a row of self-adhesive pearl gem trim directly below the silver beads at the rim for a layered, bespoke showpiece look

Bowl Design #5: The Textured Oval Snow Bowl

  1. Apply the Frost: Next, we’re going for a shimmering “winter collection” effect. Tape off the bottom center of a clear oval bowl, then apply Mod Podge to the exterior and sprinkle with white vase filler and white glitter.

  2. Assemble the Pedestal: To finish, let’s elevate the design. Adhere silver beaded necklace to the rim and bond the textured bowl to an inverted silver square bowl base for a sophisticated tiered silhouette.

Bowl Design #6: The Custom Cement-Look Bowl

  1. Engineer the Ceramic Finish: For our sixth design, we’re playing with heavy dimension. Paint a round dish with a custom-mixed blend of silver, gold, and white acrylic paint; add silver glitter to the wet paint to create a textured, “cement-like” look.

  2. Final Boutique Detailing: Next, let’s add the designer shine. Frame both the inner and outer rims with silver crystal ribbon and silver beads, then mount the piece on an inverted glass base to complete your professional-grade accent.

Bowl Design #7: The Glass Gem Mosaic Bowl

  1. Mosaic the Facade: For our seventh design, we’re playing with crystalline transparency. Apply a small dollop of hot glue to the center of a clear glass marble gem and press it firmly onto a medium clear bowl. Repeat until the entire surface is covered.

  2. Construct the Glittered Base: Now let’s build the support. Coat a small round bowl with Mod Podge and silver glitter, sealing it with a final coat of Mod Podge. Once dry, bond it upside down to the bottom center of your gem bowl.

Bowl Design #8: The Jumbo Glass Gem Centerpiece

  1. Scale the Design: For our final showpiece, we’re going for massive impact. Repeat the glass marble mosaic process on an extra-large clear plastic bowl to create a heavy, high-end centerpiece.

  2. Complete the Set: The last thing to do is create a matching foundation. Adhere a row of the same glass marbles around the perimeter of a silver charger plate to serve as a stunning, reflective base for your new collection

Related Content & Resources

▶️ Watch Next: More Decorative Bowl Ideas

▶️ Browse the Collection: See my DIY Tabletop and Luxury Bowl Collection here.


💎 Join the Community

Don’t miss a single transformation! Subscribe to my Youtube Channel for weekly step-by-step video tutorials.

Disclaimer: I’m not a professional. All my DIY’s are for entertainment purposes.

Leave a Reply